Cold Room Commissioning Checklist: The 48-Hour Acceptance Test Before You Sign
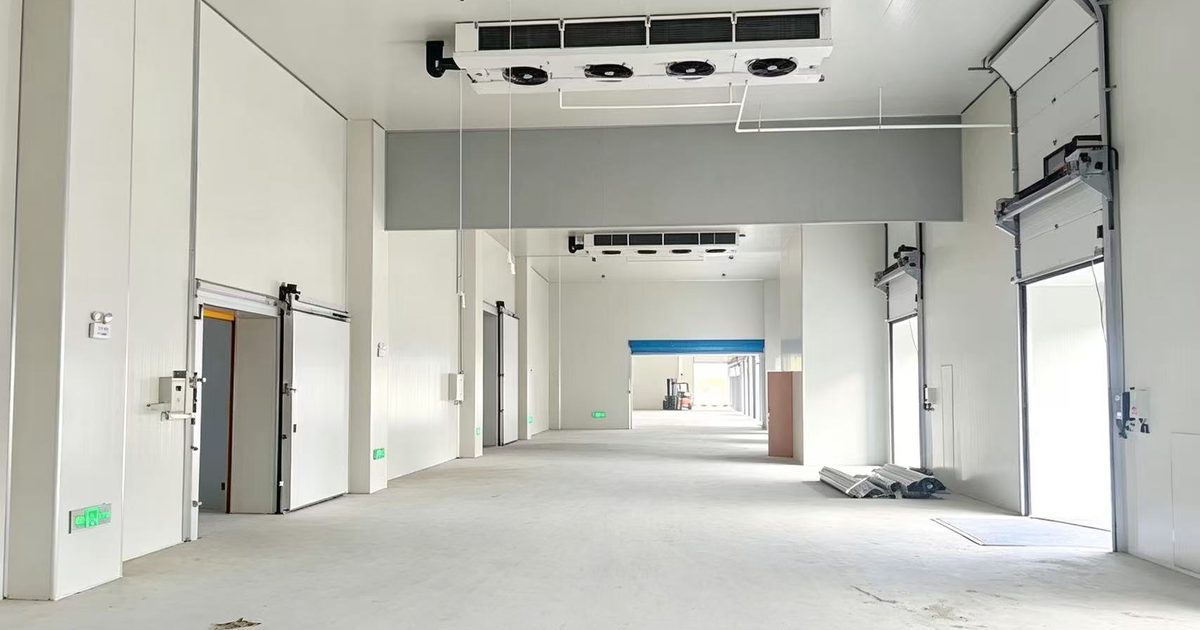
Most cold room disputes are not about broken equipment. They are about a room that runs, holds roughly the right temperature in mild weather, and still fails the buyer's actual requirement — because nobody wrote down what "working" meant, and nobody measured it during the only window when the supplier still had leverage to fix it.
Commissioning is that window. This article sets out what to test, how to measure it, and which documents to hold final payment against. It assumes the equipment is installed and the electrician has left.
⚠️ The temperature tolerances, durations and recovery figures below are industry-typical reference values for planning discussion only. They must be replaced with the values written in your contract and your supplier's design documents.
Three acceptance stages that buyers routinely merge into one
The confusion starts early. There are three distinct acceptance moments in a cold room project, and each answers a different question.
| Stage | When | What it proves | Who signs |
|---|---|---|---|
| Factory acceptance (FAT) | Before loading | The equipment matches the specification, and it works | Buyer's inspector or third party |
| Delivery inspection | On arrival | Nothing was damaged or lost in transit | Buyer or freight forwarder |
| Site acceptance (SAT) | After installation | The assembled room meets the performance requirement | Buyer's engineer |
Skipping FAT is the most expensive mistake in the list, because defects found at the factory cost a conversation and defects found on site cost a service visit, a spare part and three weeks. But SAT is the stage this article concentrates on, because it is the one that decides whether the money you are still holding should be released.
Before any test: the conditions that have to be true
A performance test run under the wrong conditions proves nothing, and suppliers know it. Insist on these preconditions in writing before the test starts.
- The room is fully assembled, doors adjusted, gaskets sealing, and the door closer operating.
- All penetrations — drain lines, cable entries, pipe runs — are sealed. An unsealed drain is a permanent load the design never accounted for.
- The evaporator is clean and the fans run in the right direction.
- The control system has been set to the design parameters, and you have the parameter list.
- Refrigerant charge is recorded, and the sight glass shows no bubbles.
- Ambient temperature at the test is recorded. A pull-down test at 15 °C ambient proves nothing about performance at 40 °C.
Engineering tip: Record the ambient temperature, the room temperature and the time at the start of every test, and photograph the controller display. A test result without the ambient condition attached is not a test result — it is an anecdote the supplier can dispute later.
Test one: empty-room pull-down
Start with an empty room. Close the doors, switch on, and log the room temperature every 15 minutes until it reaches set point.
What you are checking: that the refrigeration capacity is present and the room can reach design temperature at all. A room that cannot pull down empty will never hold temperature loaded.
Pass condition: the room reaches set point within the pull-down time stated in the design. If no time was stated, ask for one before the test rather than after.
Typical failure: set point is reached but only after many hours, and the compressor runs continuously. This usually means the capacity was rated at a warmer evaporating temperature than the application requires, or the panel thickness is below specification.
Test two: loaded pull-down
Now the test that matters commercially. Load the room with product at the entry temperature your design assumed, then log again.
What you are checking: that the room can absorb the daily throughput, not just hold an empty box. This is where under-sized evaporators and optimistic load calculations surface.
Pass condition: product core temperature reaches the target within the stated time, and the compressor duty cycle settles rather than running at 100%.
How to measure: product core temperature, not air temperature. Air temperature recovers in minutes after the door closes; core temperature is what your customer, your auditor or your buyer actually cares about. Use a probe thermometer in at least three positions — top, middle and bottom of the stack.
Typical failure: air temperature looks correct, core temperature lags by a day. Cause is usually airflow short-circuiting over the stack rather than through it, or the stack blocking the evaporator.
Test three: door-opening recovery
Open the door fully for 60 seconds, close it, and time how long the room takes to return to set point.
What you are checking: reserve capacity, and whether the air curtain, strip curtain or fast door is doing its job.
Pass condition: recovery within the time stated in the design, with no continuous running afterwards. A room that takes hours to recover after each delivery will drift upward all day in real operation.
Typical failure: recovery is fine in an empty room and poor in a loaded one, because the stack sits too close to the door and the cold air spills out along the floor.
Test four: a full defrost cycle
This test needs patience and is the one most often skipped. Run at least one complete defrost cycle and observe it end to end.
What you are checking: that defrost terminates on temperature or pressure rather than on time, that the drain carries the melt water away, and that the room recovers afterwards.
Pass condition: defrost ends when the coil is clear, water leaves through the drain without pooling, and the room returns to set point within the design recovery time.
Typical failure: defrost terminates on a timer while ice remains on the coil, or water pools on the floor because the drain line is not trapped or not sloped. Water on a cold room floor becomes ice, and ice becomes a safety incident.
Engineering tip: Photograph the evaporator coil immediately before and immediately after defrost. A coil that is still white with frost after the cycle ends will keep building ice until airflow collapses — and by then the complaint is "the room stopped working", with no evidence of when it started.
What to record, and in what form
A defensible acceptance record has five parts. Ask for them as a package.
- Test log — timestamped temperature readings for each test, with ambient conditions.
- Controller parameter list — the actual settings left on site, not the factory defaults.
- Refrigerant record — type and charge weight, matching the nameplate.
- As-built drawings — panel layout, pipe routing and wiring diagram as installed.
- Spare parts and manuals — the list from the original order, checked against what arrived.
The documents to hold final payment against
Payment structure exists to keep the last stage honest. If your contract releases everything on shipment, you have given away your only lever.
| Milestone | Typical release | Document that triggers it |
|---|---|---|
| Order placed | 30% | Signed contract and specification annex |
| Before shipment | 60–70% | Loading photos, packing list, document set |
| After SAT | 5–10% retention | Signed acceptance record with test logs attached |
⚠️ These percentages are reference figures only and must be replaced with your actual contract terms. On a first order, tying the retention to a signed SAT record rather than to "arrival" is worth more than a small discount on the unit price.
The failure mode nobody tests for: summer
A room commissioned in spring in a temperate climate will pass every test above and still fail in August. Ask for the design ambient temperature in writing, and if your site exceeds it, ask what the equipment does at that condition.
If the supplier cannot answer, run the loaded pull-down test on the hottest day you can, and record the ambient. That single data point is the most useful thing you will learn about the room all year.
A one-page version for the site meeting
If you need to compress this into a site instruction, the sequence is: confirm preconditions in writing, run empty pull-down, run loaded pull-down with core probes, run door-recovery, run one full defrost cycle, log everything with ambient conditions, then sign or withhold retention against the five-part record.
The whole process takes about 48 hours of elapsed time and perhaps four hours of an engineer's attention. It is the cheapest insurance available on a project of this size, and it is the only point at which the supplier's incentive to fix a shortfall is still larger than their incentive to explain it away.
Send us the product, storage volume, target temperature and site conditions — our engineers will come back with a preliminary scheme and budget range within 24 hours.
Email us 15898896999